In this modern world, the internet is a lifeline. The people, their work are all connected by the internet. But, when there is no internet available, all things seem not working and there is no choice of working out of it. Many people use Windows computers for their office work or for entertainment. What if, your PC is connected to the internet but, there is no internet present. Today, we are gonna tell you about how to fix “no internet, secured”.
What is “No Internet, Secured” Error?
The internet on the computer is operated wirelessly or with wires. You have a device, a network router passing data to the Wide Area Network (WAN) outside your home. This is the Local Area Network (LAN) and this network will continue working regardless of whether your internet connection is present or not.
So, the “No Internet, Secured” status message just implies that your WiFi connection to the router is fine and appropriately encoded (“Secured”). Yet that there’s no internet connection from your home router to the rest of the world (“No Internet”).
How to Fix the Error?
Table of Contents
1. Use the Network Troubleshooter
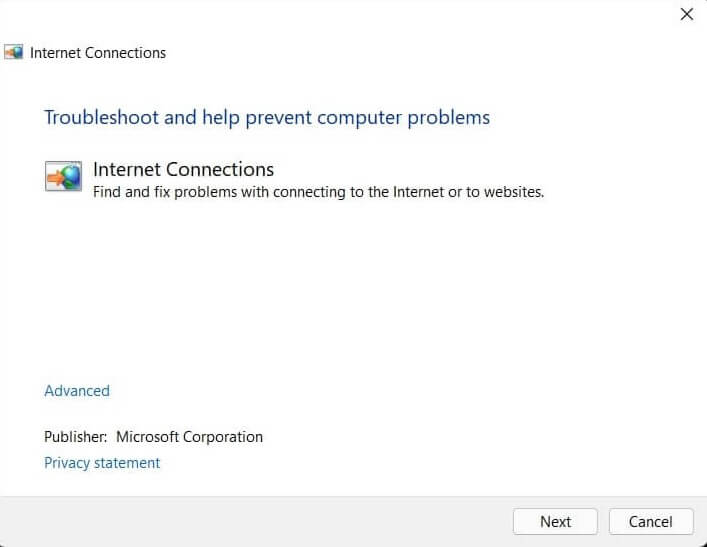
Assuming that there’s a misconfiguration issue on your Windows 10 PC itself, one fast method for making quick work of it is by using Windows’ own network troubleshooter.
- Open the Start Menu
- In the search bar, type Find and fix network issues.
- When it shows up, open it.
- Select Next to run the troubleshooter.
If there is an issue then it will let you know. That will solve your internet connection issue. On the other hand, also it shows you what’s wrong, however will not have the option to fix it.
2. Switch from WiFi to Ethernet
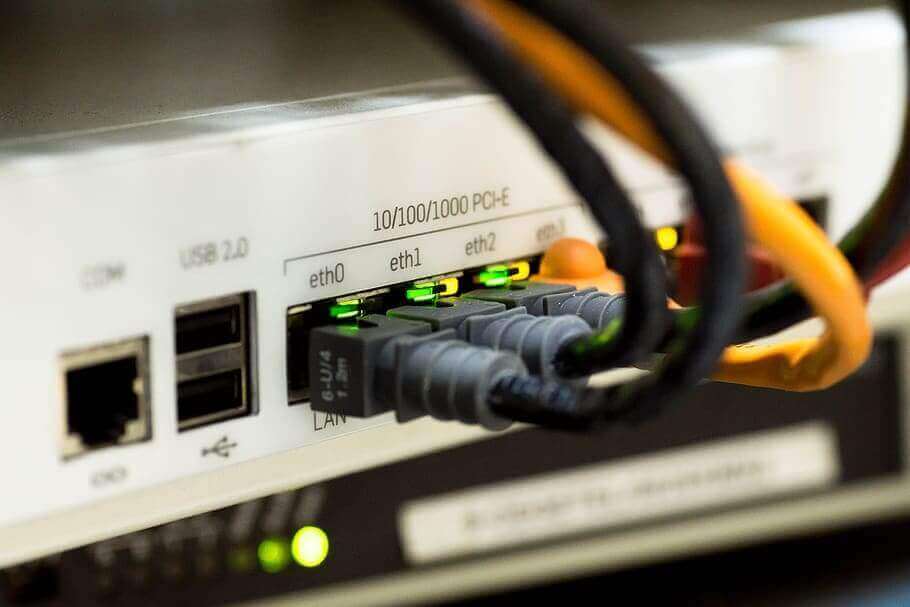
It very well may be an issue with your real WiFi hardware or software. Connect the Windows 10 PC to the router through Ethernet. If with this method, the Internet connection starts working, it’s an indication that the issue is either with the WiFi hardware, network drivers, or how WiFi is configured on the PC.
3. Check Connection Properties
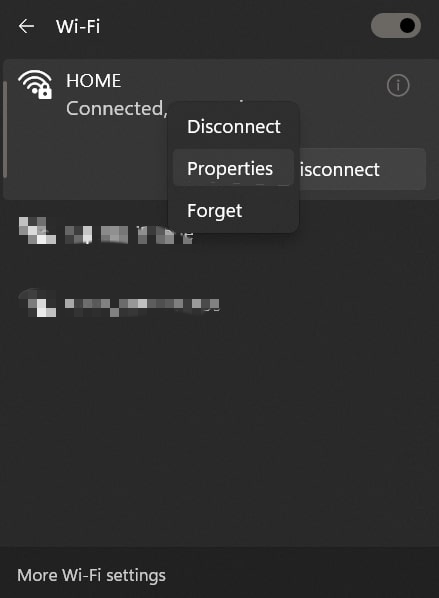
Open the network menu from the wifi icon in the taskbar.
Right-click on the network SSID, and select the Properties option.
Ensure that the following options are checked in this dialog box.
- Client for Microsoft networks
- File and printer sharing for Microsoft networks
- Link-layer topology discovery mapper I/O driver
- Internet protocol version 4, or TCP/IPv4
- Internet protocol version 6, or TCP/IPv6
- Link-layer topology discovery responder
4. Update the network adapter
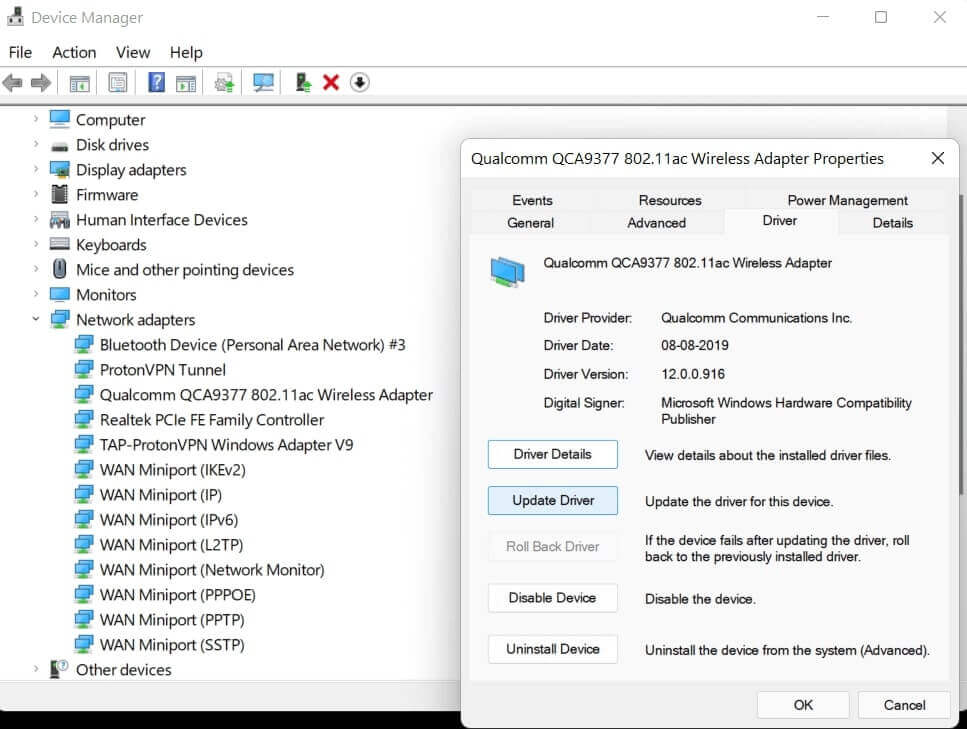
- Right click on the My computer icon.
- Select the “Manage” otpion from the menu.
- Expand the Network adapters, and right-click on the network driver.
- Now, choose the “Update Driver”.
- In the “update driver” dialog box, click on “search automatically” option. Windows will search for the updated driver software
5. Refresh the Windows 10 IP Configuration
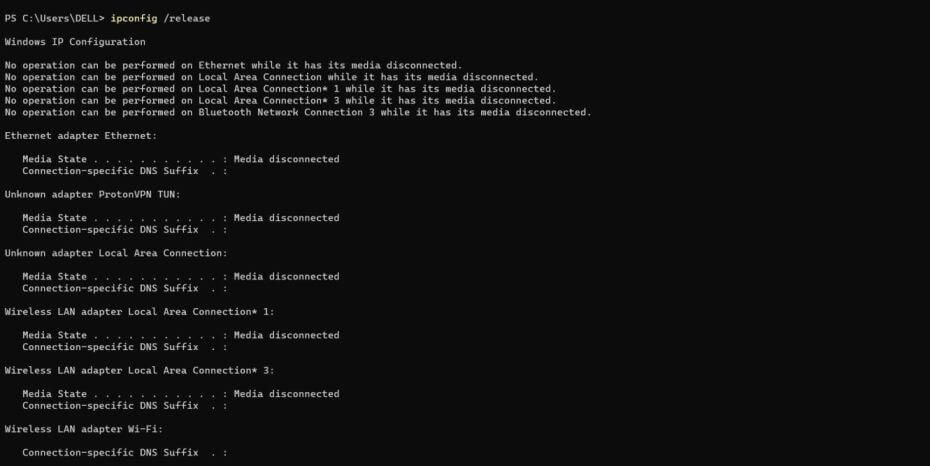
- Right click on the Start menu and open “Windows Terminal”.
- Type the following line of code, and hit Enter.
ipconfig /release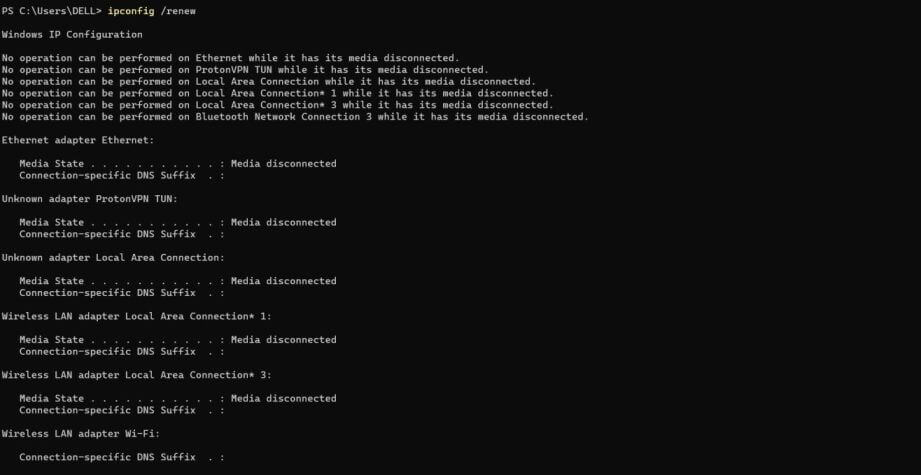
- After that, type the following line of code, and press Enter key.
ipconfig /renewThis process will refresh and assign the new IP address to your computer.
6. Reset Winsock
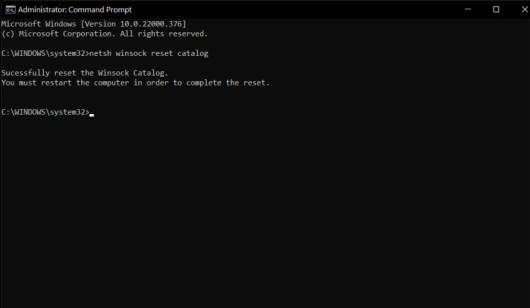
netsh winsock reset catalog
Winsock is really the Windows Sockets API. This is a description of your PC’s communication with network services, explicitly the broadly utilized TCP/IP. Restart the computer and it will work.


![TamilRockers Proxy: Unblock TamilRockers [All New Working Links 2021] Tamilrockers-proxy](https://www.techontable.com/wp-content/uploads/2021/01/Tamilrockers-proxy-100x70.png)
